


Installing a door lock—whether it’s a door knob or lever handle—is one of the most satisfying DIY home improvement projects you can tackle. Not only does it enhance security, but it’s also one of the fastest ways to refresh the look of a door.
In this guide, we’ll walk you through how to install a door lock, whether you’re replacing an existing lock or installing one on a brand-new door. With the right tools and a bit of patience, this project is very beginner-friendly.
🧰 Tools & Materials You’ll Need
Tools
- Drill / Driver
- Screwdriver
- Utility knife
- Wood chisel
- Measuring tape
- Hammer
- Sawhorses
- Door lock installation kit
- Hole saw (often included in the kit)
- Safety glasses
- Work gloves
- Hearing protection
Materials
- Door lock set
- Small wood block
💡 Tip: A door lock installation kit (also called a drilling guide) makes the job faster and much more accurate—especially for first-time installers.
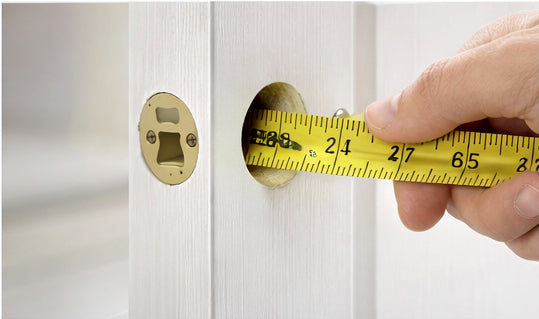
📏 Preparation: Measure Before You Install

Measure the Backset
The backset is the distance from the door edge to the center of the lock hole. Most residential doors use:
- 2-3/8 inches or
- 2-3/4 inches
If you’re replacing an existing lock:
- Remove the old hardware.
- Measure the backset.
- Choose a new lock that matches (many modern locks are adjustable).
If you’re installing a lock on a new door, refer to the manufacturer’s instructions for the correct backset placement.
🚪 Preparing a New Door for Lock Installation

Most lock sets include a paper template to help locate holes, but a door lock installation kit provides better accuracy and stability.
Step 1: Measure an Existing Door
Measure from the top of the door to the center of the latch hole, then transfer that measurement to the new door.
Step 2: Remove the Old Door
Take down the old door and place the new door securely on sawhorses.
Step 3: Set the Drilling Guide
Adjust the drilling guide to the correct backset (2-3/8" or 2-3/4").
Step 4: Attach the Guide
Align the guide with your marked latch center and secure it to the door using screws.
Step 5: Drill the Main Lock Hole
Use a 2-1/8 inch hole saw:
- Drill halfway through one side
- Flip the door
- Finish from the other side
This prevents splintering and tear-out.
Step 6: Drill the Latch Hole
Use a 1 inch hole saw to drill into the door edge for the latch.
Step 7: Cut the Latch Plate Mortise
- Trace the latch plate outline
- Use a chisel (bevel side down)
- Remove small amounts of wood at a time
The latch plate should sit flush with the door edge.
Step 8: Paint and Hang the Door
If painting is required, do it before installing the hardware. Once dry, hang the door.
🔐 Installing the Door Lock Hardware

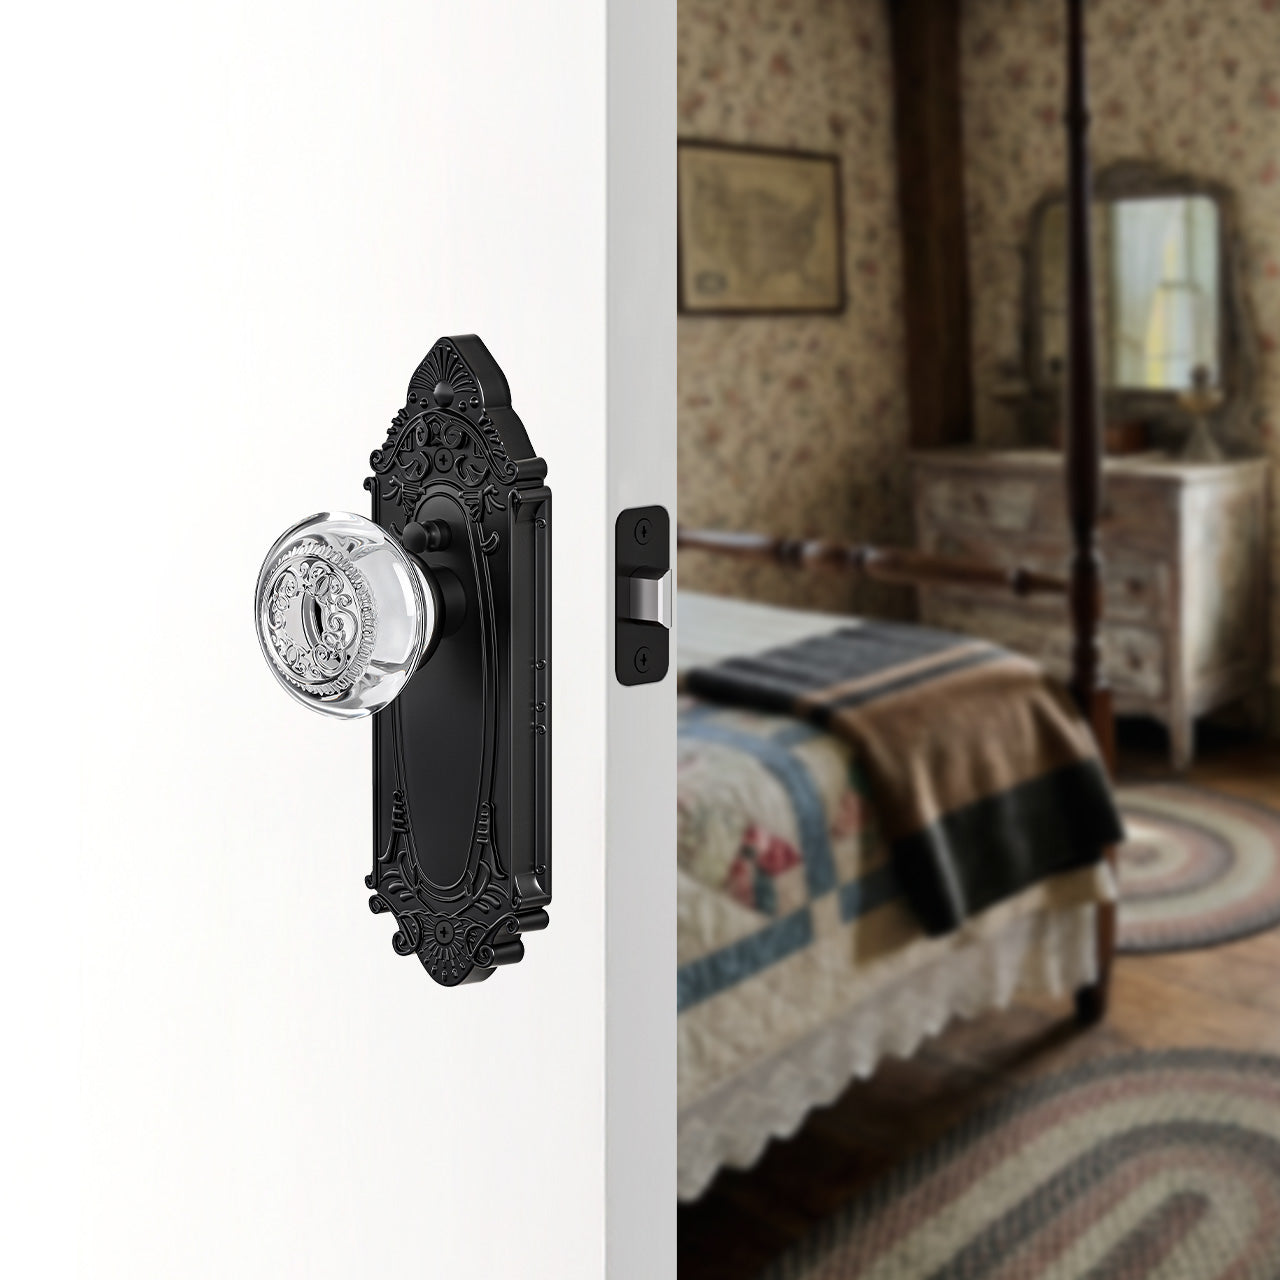
Step 1: Install the Strike Plate
Attach the strike plate to the door frame where the latch meets the jamb.
Step 2: Insert the Latch
Slide the latch into the door edge with the angled side facing the door frame.
Step 3: Secure the Latch
If needed, gently tap it in using a wood block and hammer. Secure it with screws.
Step 4: Install the Knob or Lever
- Insert the exterior handle or knob
- Align the interior side
- Tighten screws evenly until secure
Step 5: Test the Lock
Turn the handle, open and close the door, and confirm smooth operation. Make any minor adjustments as needed.
✅ Helpful Tips Before You Finish
- Match the latch plate shape (round or square) when replacing hardware to avoid extra chiseling.
- Many lock sets include multiple latch faceplates—choose the one that best fits your door.
- For entry doors, you may be able to key multiple locks alike for convenience.
🏡 Final Thoughts
Installing a door lock is a practical DIY project that delivers both functional and visual impact. With careful measuring, the right tools, and a step-by-step approach, you can confidently upgrade your door hardware and instantly elevate your home’s appearance.
Whether you’re refreshing an interior door or installing new entry hardware, a quality lock set paired with proper installation makes all the difference.